Roof flashing is an essential component of any roofing system, designed to prevent water from seeping into your home at vulnerable points, such as around chimneys, vents, skylights, and valleys. Made from durable materials like galvanized steel or aluminum, flashing acts as a barrier, directing water away from seams and joints where leaks are most likely to occur. Proper installation and maintenance of flashing are key to ensuring your roof remains watertight and protected from water damage. Without it, even a well-built roof can become susceptible to leaks and long-term structural issues.
One of the most common places for a roof leak is the flashing around the chimney. This can cause rot and interior water damage — both of which will have to be repaired (in addition to taking care of the leak itself). Your home’s flashing is important to maintaining its structural integrity, because it makes sure that rain can’t get in through the spaces in your home or roof structure. It creates airtight seals between the decks and sides of your home, its chimney and roof, as well as other structures to which it’s attached. If your flashing starts to show signs of rust, cracking, or breaking, it’s time to get it repaired.
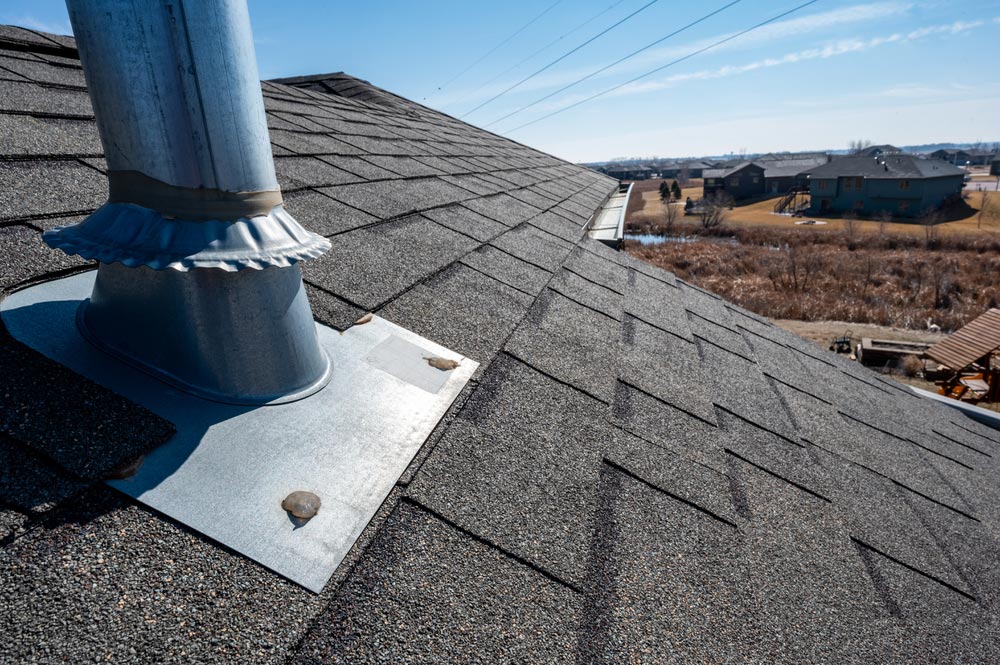
Vent Flashing
Signs That Your Flashing Needs to be Repaired
If you notice any leaks around your chimney or the joints in your roof, there’s a good chance you’re having some issues with your flashing. But it’s not a good idea to wait until something goes wrong, because the damage that roof flashing issues can create can be hard and expensive to fix. Roofing professionals recommend getting your flashing inspected at least once a year.
If you do notice any issues, you might be tempted to repair them yourself. Some of these problems may seem simple enough to fix, but you may want to reconsider. Roof flashing can be complicated to install, and repairing it properly requires a great deal of knowledge about how roofs work. If you don’t repair it properly, you may put your roof at risk for wind and water damage. It’s always a good idea to educate yourself about home repair so you know what you’re getting into, but roof flashing repair is not a DIY project. These types of repairs should only be done by a trained and experienced roofer.
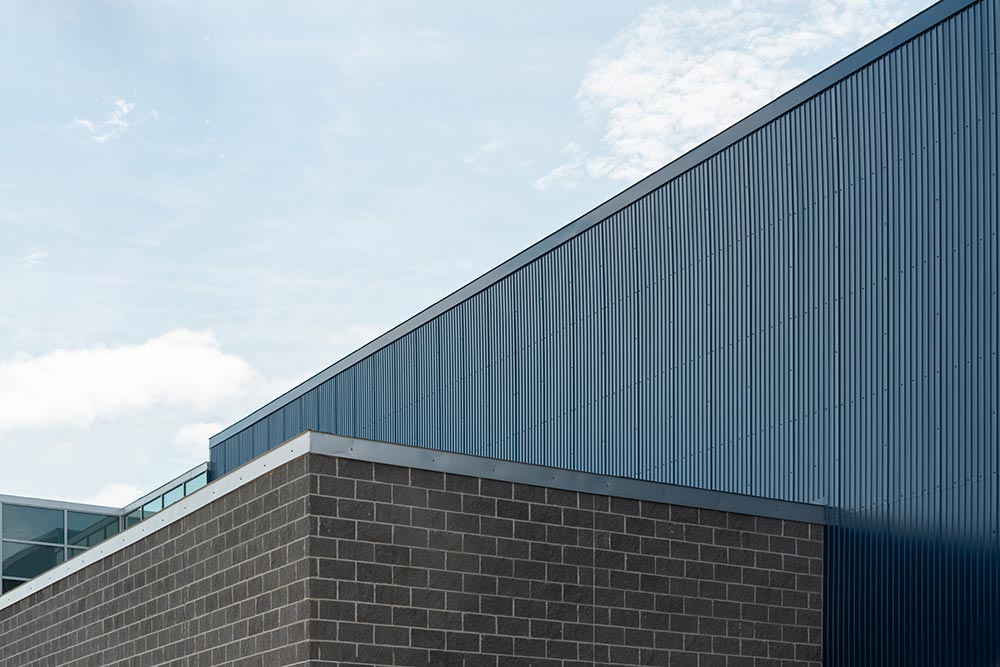
Commercial Roof Edge Flashing
The Flashing Repair Process
The flashing repair process can vary according to what type of issue it is and how much damage is present, but here are some basic steps that will usually be followed:
- Removing roof shingles around the flashing — To access the flashing, the shingles around it must be completely removed. It’s not possible to work around the shingles and still get to the flashing base.
- Taking care of any minor repairs — Flashing can sometimes get corroded, which can leave small holes in the material. To fix these holes, a roofer will roughen the edges around them. The roofer will then place a flashing material patch over the hole and secure it with roofing cement. Some extra cement will then be added to the top and edges to make sure it has been waterproofed.
If the corrosion is too extreme, the flashing will need to be replaced. If that’s the case, the following steps will have to be taken:
- Removing any fastening materials — The roofing mortar or caulk that secured the roof must first be removed, which is delicate work. It’s easy to accidentally damage the roof if you’re not careful. An experienced roofer will carefully chip away this material so the roof doesn’t get damaged. Once the mortar has been removed, the flashing can be pried off the roof so it can be disposed of.
- Installing new flashing and reinstalling roof shingles — Once the old materials have been removed and disposed of, the new flashing can be installed. It needs to be nailed down securely before it’s carefully sealed at every edge to make sure it’s waterproof, and all the nails need to be capped down with roofing cement to avoid any leaks. Once the flashing has been secured and sealed, the shingles can also be reinstalled.
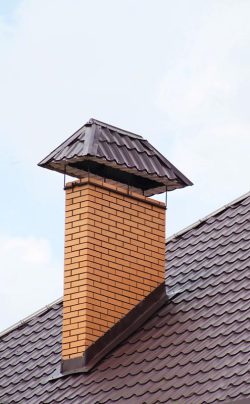
Chimney Flashing At Base
If your home has a chimney, it has to be cleaned of any tar and metal flashings. The deck around the chimney will also have to be inspected for loose wood, lifted or exposed nails, as well as any rot. If any of these are present, they will have to be repaired. If it’s necessary, a cricket will be built at the back of the chimney. It’s a small peak that sits behind the chimney, and its purpose is to keep water from hitting it directly in the back by diverting it to either side. Chimney crickets are almost always recommended, especially if the chimney has been built on the center of the roof. Chimneys that are built up the exterior side of a wall or through the ridge of the roof don’t need crickets.
Trust Bayfront To Get The Job Done Right
Bayfront Roofing offers professional flashing repair services to protect your home from leaks and water damage. Flashing, the metal material that seals areas around chimneys, vents, and skylights, is crucial in directing water away from vulnerable parts of your roof. When damaged or improperly installed, flashing can allow water to penetrate your home, leading to costly repairs. Our experienced team provides thorough inspections and expert repairs to ensure your flashing is fully sealed and secure. With Bayfront Roofing’s flashing repair services, you can trust that your home will be safeguarded from moisture and remain structurally sound for years to come.
If you’re looking for one of the best roofers in Corpus Christi to help you with any type of flashing repair, be sure to get in touch with Bayfront Roofing.